On my blog post of April 14, 2014, I described how to use Nik's Viveza 2 to achieve that beautiful, intense blue window light seen in architecture photographs. Here, I wish to describe a nice finishing touch using the Brilliance/Warmth filter from Nik's Color Efex Pro 4 on a similar image. First, lets us begin with the image as it came into Photoshop from Lightroom. The White Balance and Tint were adjusted, Shadows and Blacks lightened, and the Highlights and Whites (from the candle flames) reduced. The image was also straightened, and the noise was reduced:

The image after basic Lightroom adjustments.
A few minor corrections were made in Photoshop. I reduced the reflections on the back wall, as I deemed them distracting:

A few minor adjustments were made in Photoshop.
Next, the image was sharpened - this layer is not shown here. Next, the image was brought into Viveza 2 to get the blue window light, as described in my previous post. A white layer mask was added, and a quick selection was made of the two white candles in the back, Andrelica's head and neck, plus everything below the window sills. This selection was filled with black, which prevented any possible blue light from contaminating the lower part of the image:
The image after Viveza 2 was applied.
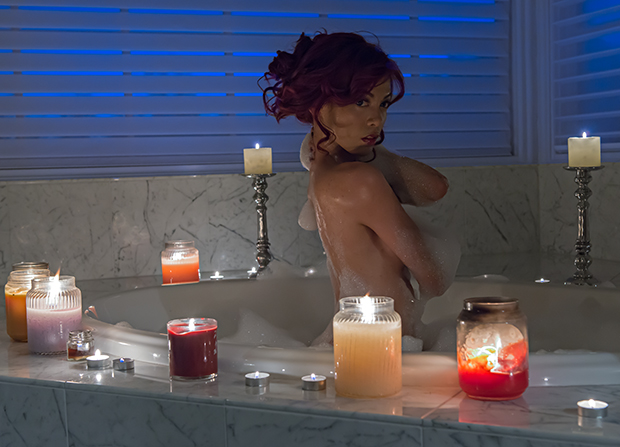
For the final touch, the image was brought into Nik's Color Efex Pro 4 and the Brilliance/Warmth filter was applied. I only adjusted two sliders. The Saturation was set to 67 and the Warmth was set to 66:

The final image, after the Brilliance/Warmth filter was applied.