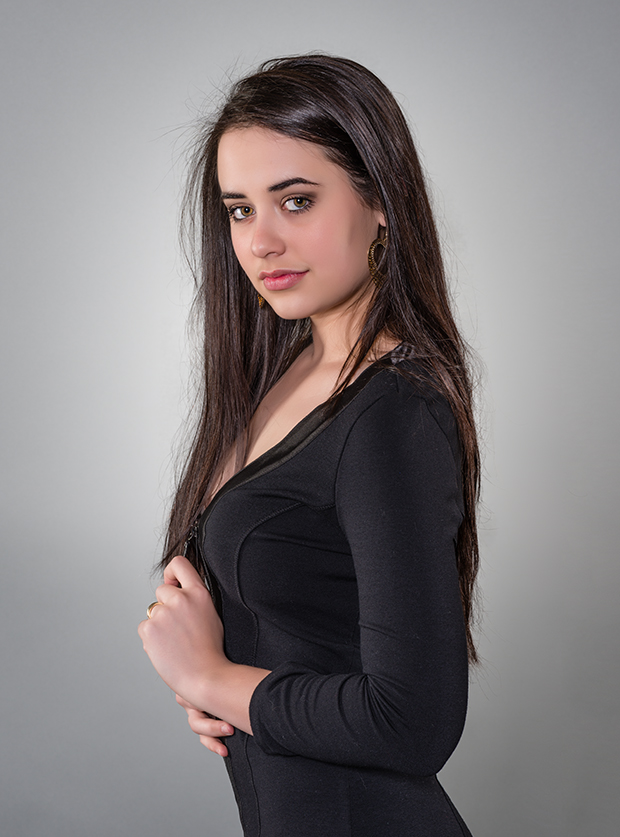
A white halo behind the model is often accomplished in camera by placing a flash low behind the model and pointing it up at the seamless background. This can also be accomplished in post by masking out the model, as described in my previous blog post. Here is a beginning image of the wonderful Sarah Ezell, with a grey seamless background behind her:

Love that inscrutable expression! But I digress... After using your favorite masking technique (mine is Topaz ReMask 5), and you have the model on a separate layer and have defringed it (this one was defringed 1 pixel) as described in the previous post, simply add a new blank layer below the model, use Photoshop's Elliptical Marquee Tool to draw a large oval, fill it with white (or any light color), deselect the marching ants (Command/Control-D) and run a Gaussian Blur on the oval with the Radius set to its maximum of 1,000 pixels. The layer opacity can be adjusted lower if desired. If you set the layer blending mode to Multiply, Screen, Overlay or Soft Light, you can pick up shadows of the original and some hair that may have been lost during the masking process. Here is what the effect looks like:
I usually then make a composite layer (Option/Alt Merge Visible from the Layer panel's flyout menu) and take it into Nik Collection -> Color Efex Pro 4 for finishing touches. I often use Brilliance/Warmth and Darken/Lighten Center. Here is the final image:

The color of the background can also be changed. Simply add a Solid Color layer beneath the halo layer with the blurred white oval. Always remember to use a Solid Color layer instead of a blank layer filled with a color, because with a Solid Color layer the color can easily be changed and previewed on the fly. Like the white oval layer above, if you set its layer blending mode to Multiply, Screen, Overlay or Soft Light, you can pick up shadows of the original and some hair that may have been lost during the masking process. Here is an example of a differently colored background:
